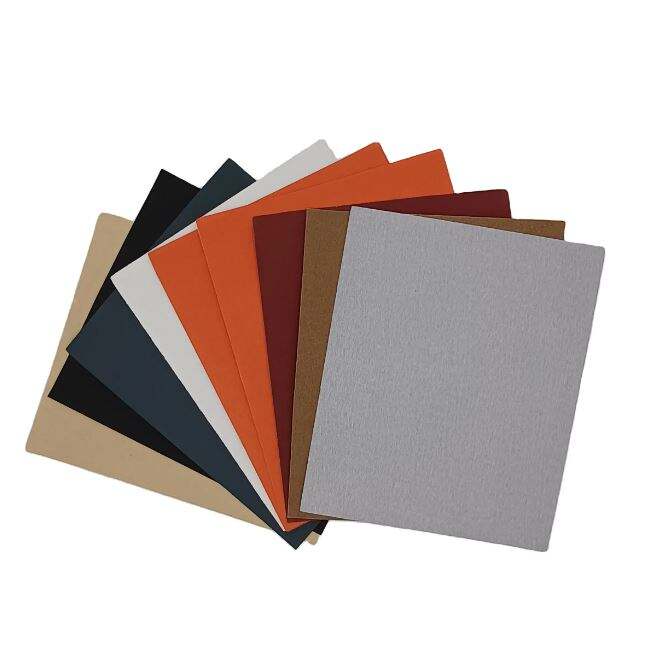
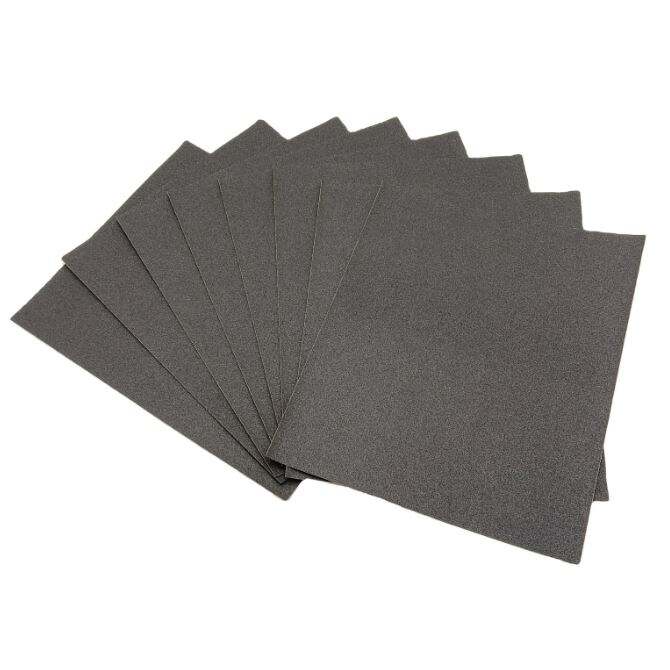
Choosing the right sandpaper grit is important to smooth and finish whatever you are sanding. Working on a woodworking project or maybe restoring an old piece of furniture? Understanding sandpaper grits will help you achieve success. In this guide, we will cover all aspects of how to select sandpaper, the restorative projects requiring various grades, tell-tale signs a project will require slightly different treatment and further considerations to help you decide on the best grit for your job.
How to Choose the Right Sandpaper: A Beginner’s Guide
There are various grades of sandpaper, ranging from coarse to fine. The grit refers to how many minuscule pieces are on the sandpaper in one square inch. Generally, the lower the grit number, the coarser the sandpaper. A high grit number indicates fine sandpaper. If you are a beginner, it helps to know about the various grits and how best to use them for your project.

How to Match Sandpaper Grit to Your Project?
When choosing sandpaper for your project, consider what you are sanding and how smooth you want it to be. For instance, when you are sanding a rough area, or removing paint, you would want to start with a rougher grit, say 60 or 80. You can also use it with finer grits, such as 120 or 150, to keep smoothing it out as you sand. Sandpaper grits will help you reach the desired results depending on your project.
How to choose the proper sandpaper grit for a perfect outcome?
Here are some tips that will help you to choose the right sandpaper grit for your project and make the whole procedure worthwhile.
Begin with a rougher grit to remove any tough places.
Move to finer grits as you progress to create a smooth and shiny surface.
Ensure even pressure with a sanding block or tool so that one part doesn’t get sanded too quickly compared to others.
Frequent changing of the sandpaper so that it keeps working.
Experiment with various grits over a little concealed area of your project to see which functions best.
How to Work Your Way Around Sandpaper Grits?
Sandpaper comes in coarse grits like 40 or 60, fine (“finish”) grits like 240 or 320, and many intermediate options. Understanding these choices may help you select the appropriate grit for your project. Coarse grits are used for sanding and removing lots of material quickly while fine grits are better for finishing and smoothing things out. Knowing the different grits will allow you to select the one that is best for what you want.

The 5 Factors to Choose the Best Grit for Your Project
Consider these things when choosing the best grit for your project:
The material you’re sanding: Different materials require different grits to achieve the best finish.
The surface: Rough surfaces may require coarse grits, while smooth surfaces may only require fine grits.
The sheen you want: Consider how smooth or shiny you want it and select the correct grit.
Your sanding method: Whether you plan to sand by hand or with a power sander, and depending on whether that method works best with different grits.
Type of project: Larger projects may need different grits to maintain an even appearance.
To sum up, selected sandpaper grit helps to make your project smooth and beautiful. Different grits would be matched to your project, then follow the tips on choosing, then the grit options to follow and finally consider even important factors such as your sanding project to get awesome results. Happy sanding!
 EN
EN
 AR
AR
 NL
NL
 FR
FR
 DE
DE
 KO
KO
 PL
PL
 PT
PT
 RU
RU
 ES
ES
 AF
AF
 LA
LA


